
The document bulk upload process has two parts: the first is to upload the documents in the server and the second is to link the uploaded documents to the contracts.
Part 1
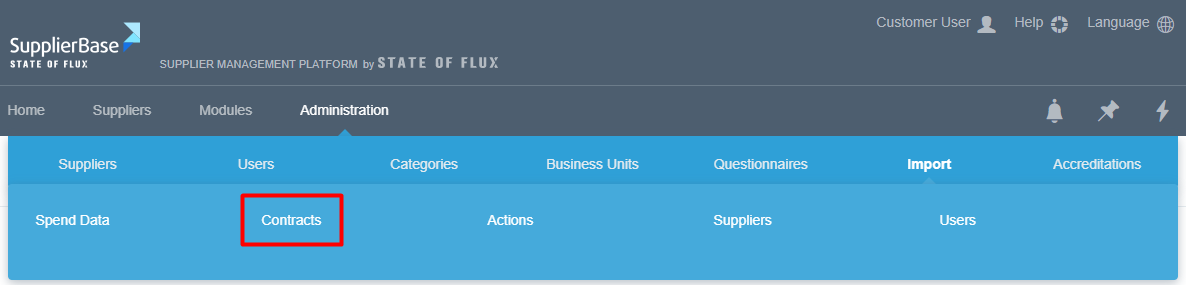
1) Navigate to Administration > Import > Contracts.
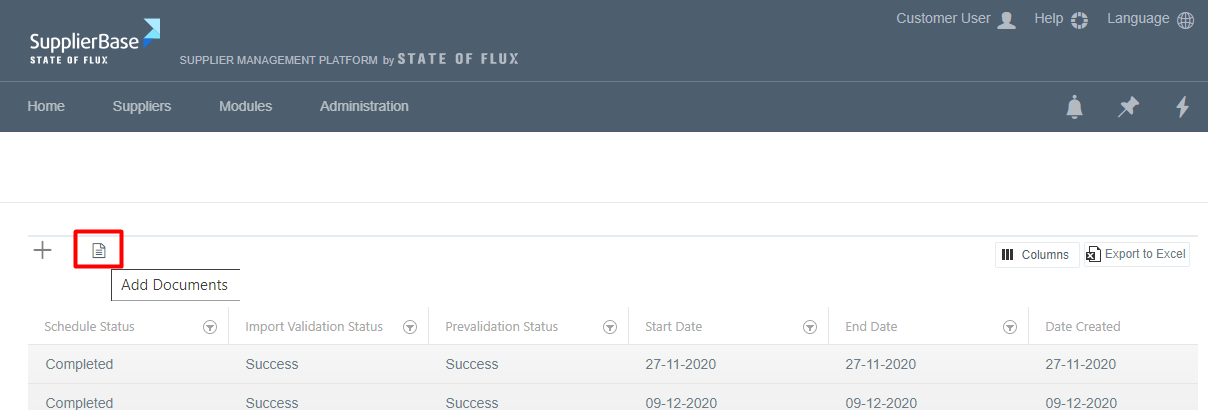
2) Select the document icon that you will find on the left side of the screen.
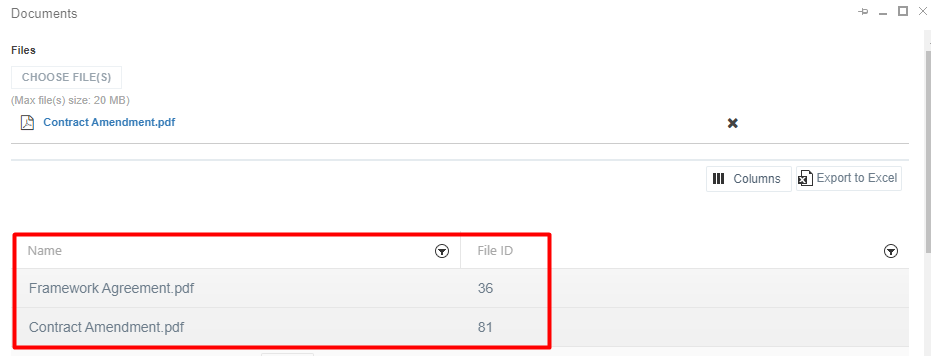
3) On the pop up window that appears, select the Choose file button.
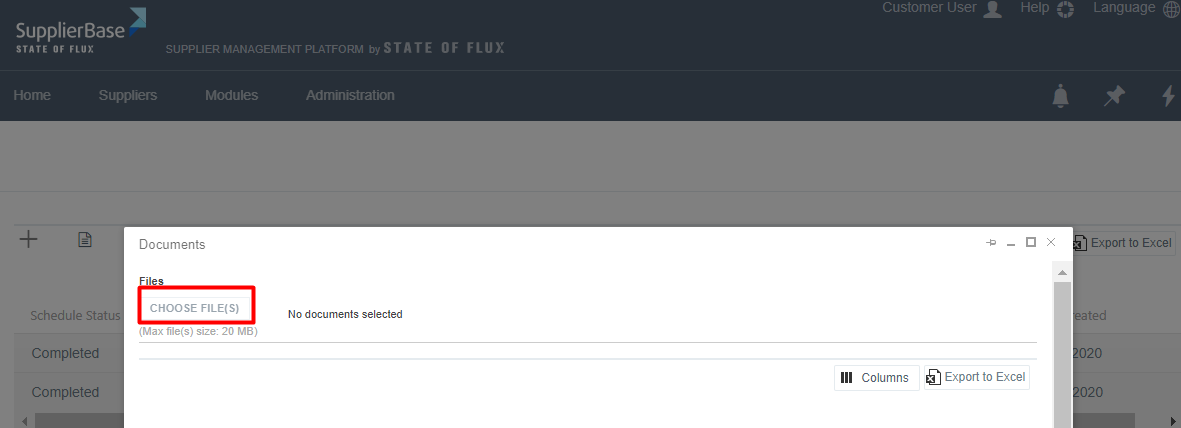
This will allow you to select the document(s) you want to upload. Depending on the number of documents that you select, the loading time will differ.
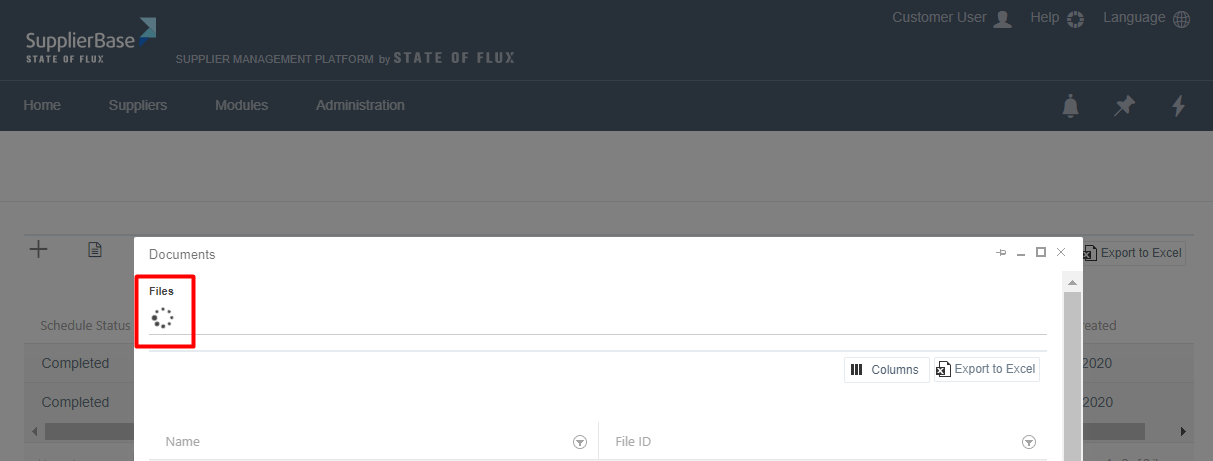
4) When the documents load, they will appear on the list, with a File ID number. This means that they have been successfully uploaded to the server.
Part 2
In order to link the documents to the contracts, you need to insert the document names in the Contract Import template as shown below.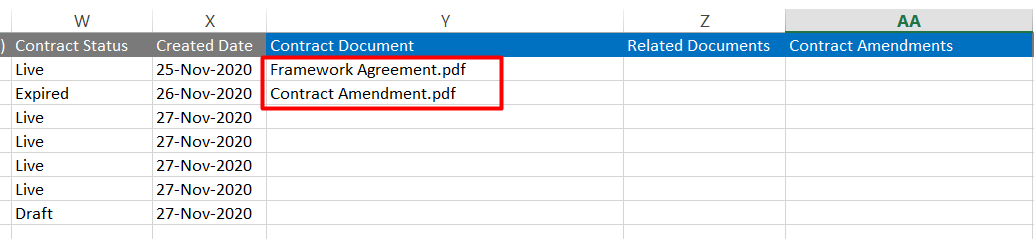
Documents can be added in the same way in all the document columns (Contract Document, Related Documents, Contract Amendments).
Once you have inserted the document names of the documents you want to upload, save the template and import the file. If the Import result is successful, the contracts will be uploaded with their documents in the platform.
IMPORTANT NOTE: In the contract document names there should be no commas (,), because this will lead to unsuccessful upload attempts. The comma should be used in case users would like to upload more than one documents in one field (e.g. Contract Amendment.pdf, Framework Agreement.pdf). Please find more details about that in this article.