
In SupplierBase, users can create or edit KPIs in bulk with the help of a template.
NOTE: This function is available to system administrators only.
KPIs can be uploaded in the platform in bulk from the Administration > Import > KPIs page.

There are 4 steps that you need to follow in order to import KPIs.
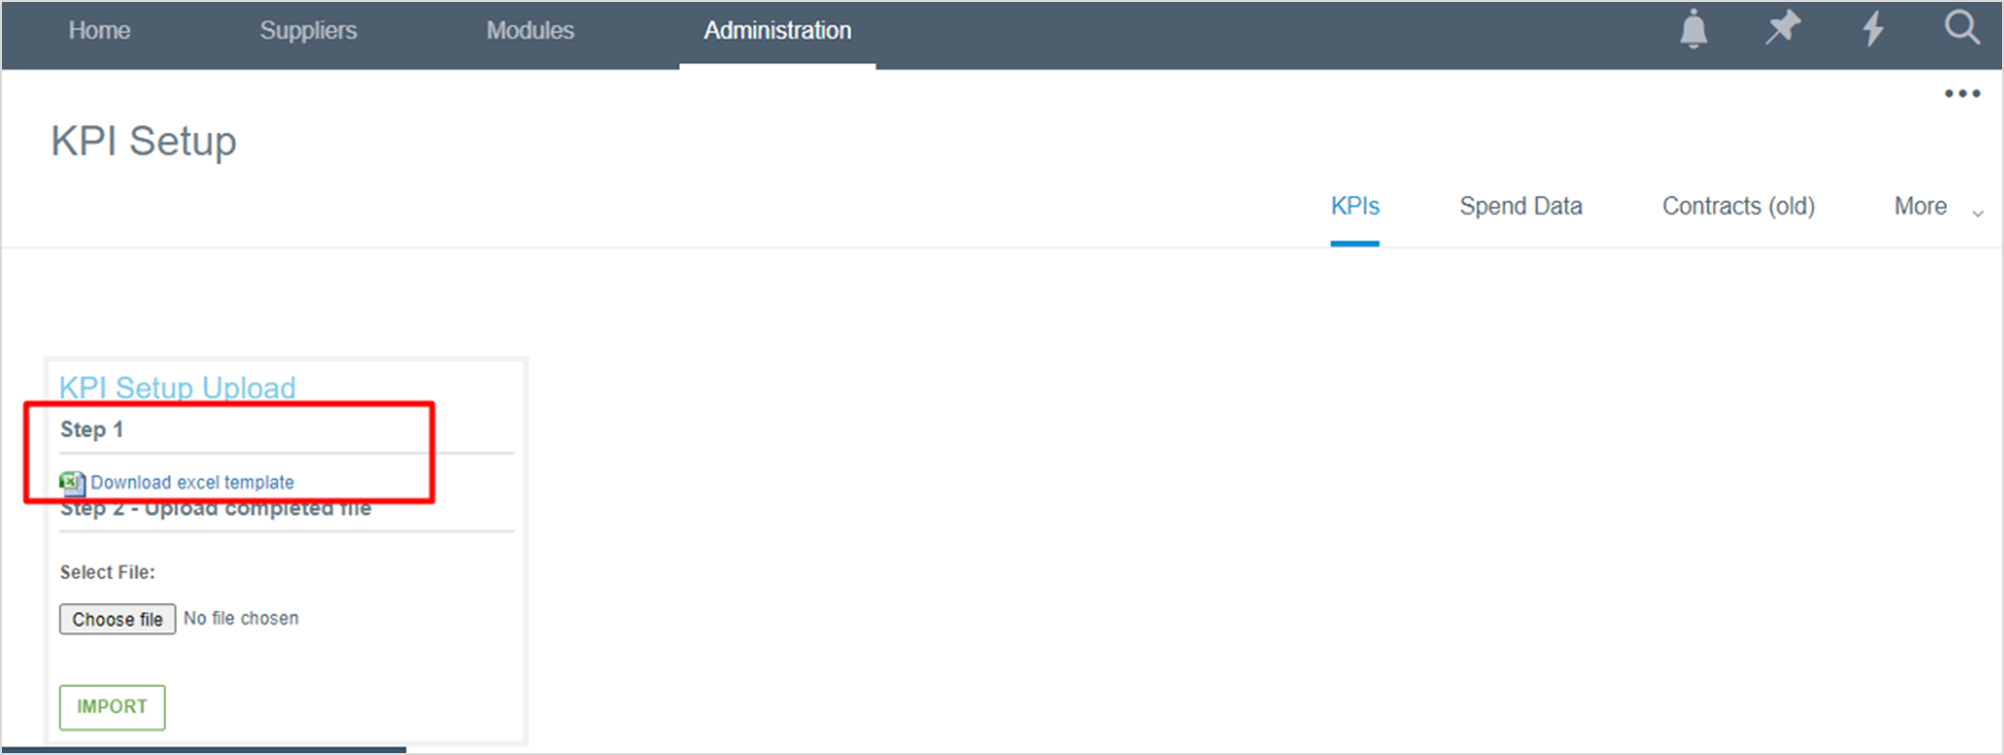
1) Navigate to Administration > Import > KPIs page and download the Excel Template.
2) Populate the excel template appropriately.
The excel file contains all the KPIs that have already been created in the platform. All the columns of the template match the settings of the platform, e.g. Supplier, KPI name, Target Start Date, KPI owners etc.

a) How to create new KPIs
To create a new KPI, users have to fill in an empty row only the fields that they see populated for already existing KPIs. The rest need to be left empty.
Almost all fields have validation drop down lists, from which the user needs to select the appropriate option for the new KPI.
The following fields require attention:
ID: This is an autogenerated number (e.g. 81629), which is acquired for all KPIs when they are created. It is the unique identifier of the KPI and exists only for previously created KPIs. For new KPIs, this field needs to remain empty.
KPI / Business Unit / Category: these fields have drop down list with all their items, but they also contain their hierarchy path. For example, the category Professional Services is listed in the template as "all/services/professional-services".
Customer Owner: in all user fields the email address of the user must be listed. If multiple KPI owners must be listed, their email addresses should be separated with the symbol "|" and without space, for example kpiowner@stateofflux.co.uk|kpiowner@yahoo.com|kpiowner@outlook.com
b) How to edit KPIs
Administrators can locate the row of the KPI they want to edit and make any appropriate changes. For example, they can add or remove KPI owners by changing the email addresses on this field.
IMPORTANT NOTE: The ID number matches the existing KPI in the platform and allows the system to edit the KPI. If the ID is removed, the system will not edit the KPI, but it will create a duplicate.
After adding or editing all the KPIs, the file needs to be saved and then it will be ready for import.
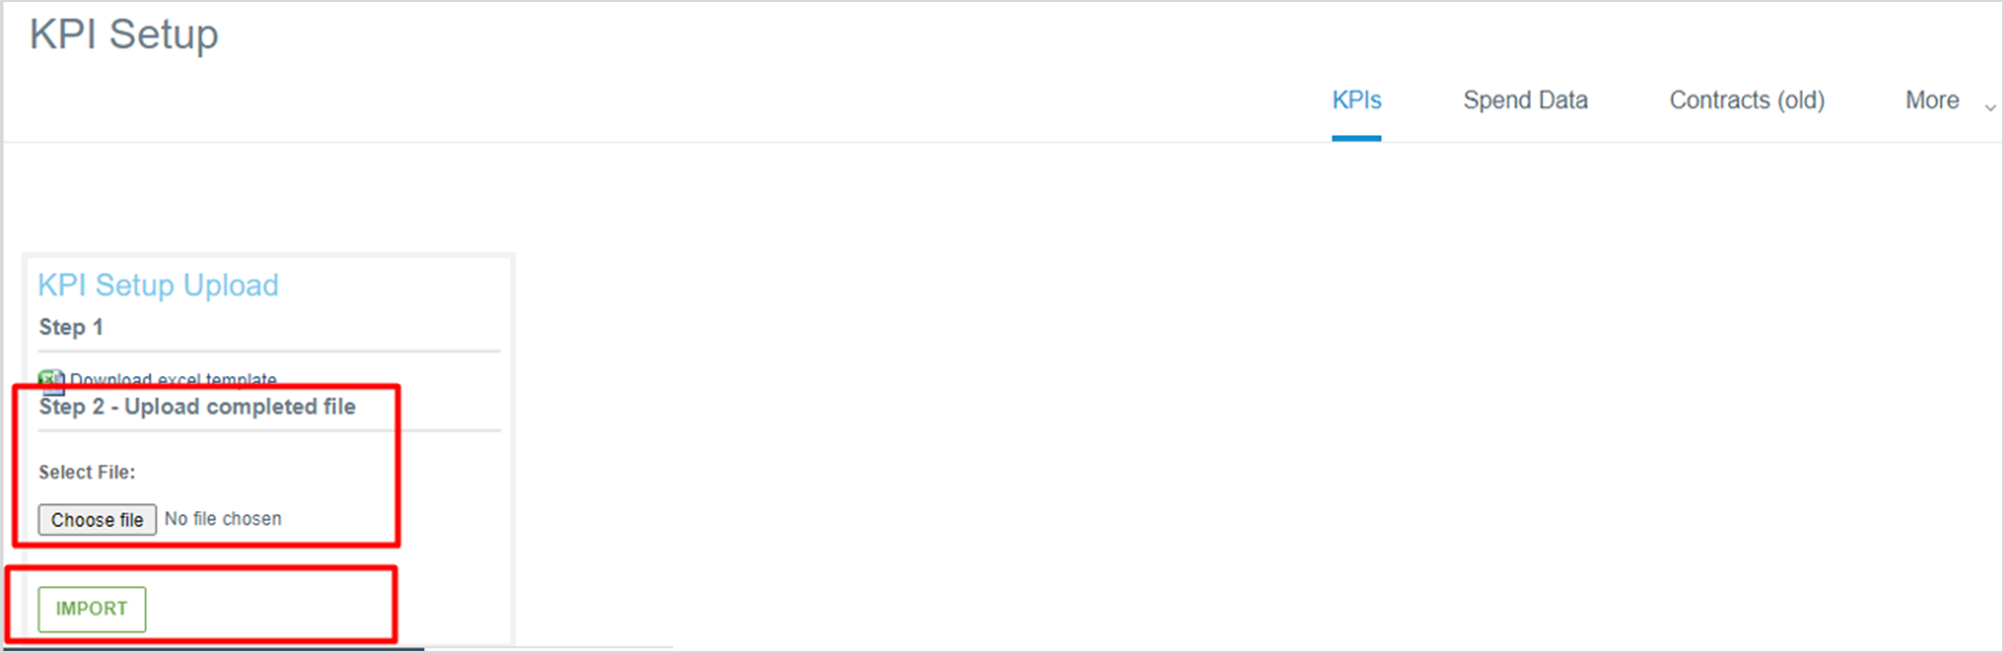
3) Import the template
The next step is to upload the completed template and then click on the Import button.
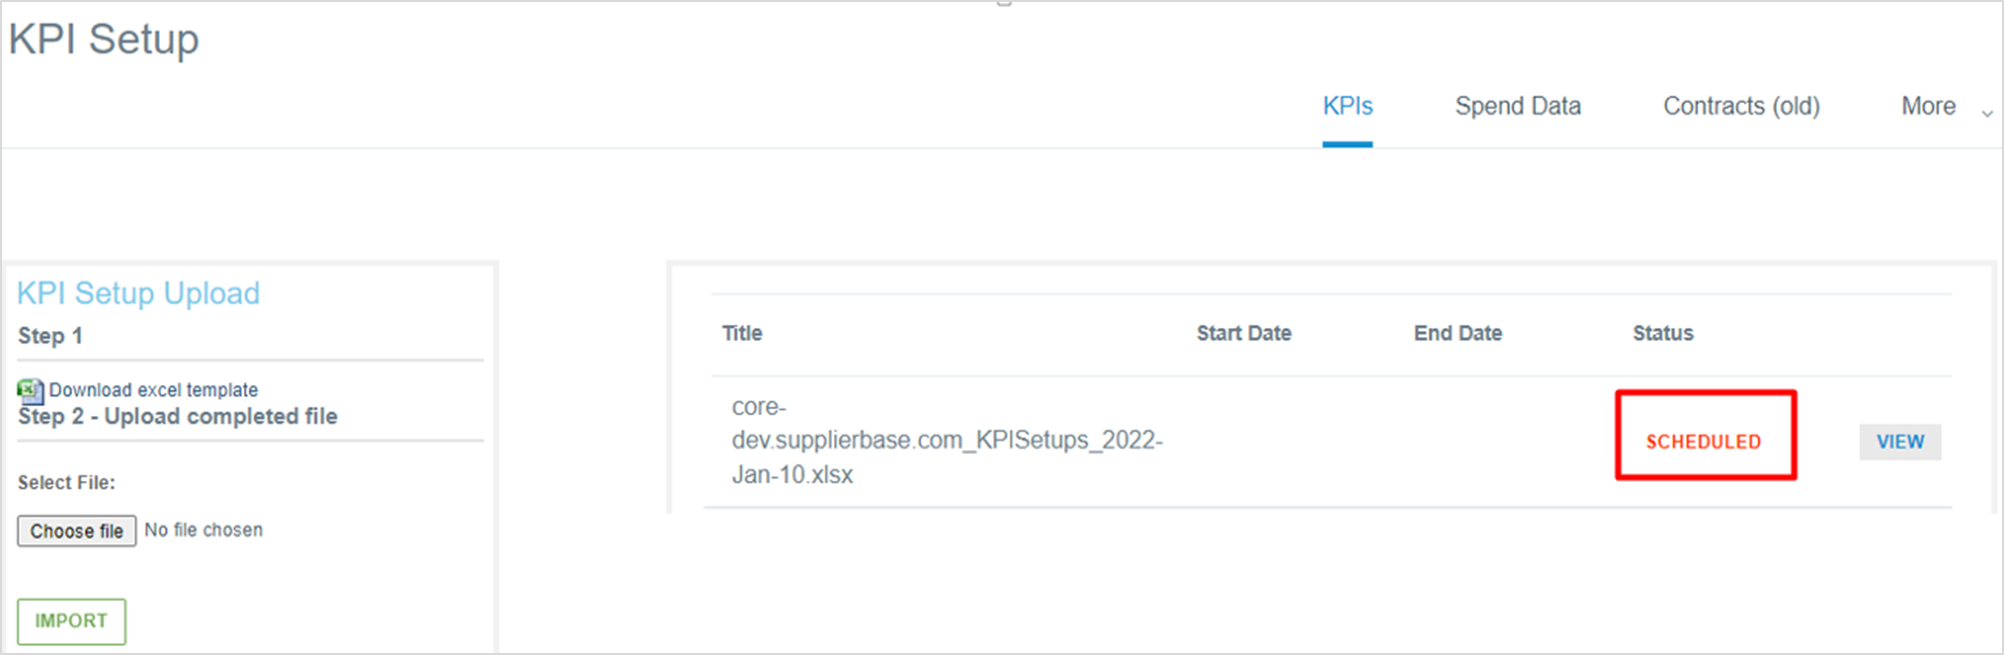
4) Check the Import Status
When the template is uploaded, an entry will appear in the import grid.
If the Status is Validation Failed, it means that the template has a few errors that need to be corrected. In that case, you need to click on the View button, which identifies the rows that do not have the correct information and prevent the file upload.
If the Status is Scheduled, then the upload will proceed. The automated import task will run in the back end of the platform at the scheduled time and process the file, which will update existing KPIs and create new ones.
Once the import task is finished, the status will change to Success.