
Steps to create a dashboard
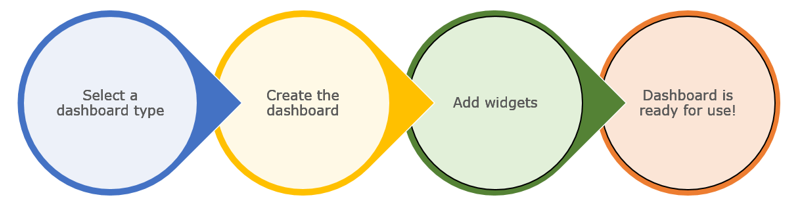
The creation of dashboards is an easy process. Users only need to follow three steps:
- Select a dashboard type
- Create the dashboard (using the dashboard builder); and
- Add widgets to the dashboard (using the widget builder)
Step 1: select a dashboard type
There are eight (8) types of dashboards that users can create, with different access levels.
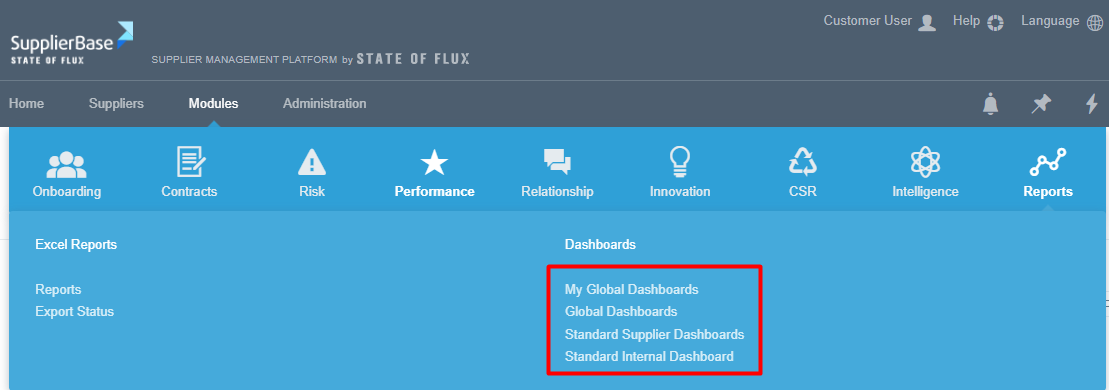
At the module level (Modules > Reports > Dashboards), users that have access to information across multiple suppliers have access to the following four pages:
- My Global Dashboards
- Global Dashboards
- Standard Supplier Dashboards
- Standard Internal Dashboards
At the supplier level (Supplier Modules > Reports > Dashboards), users have access to the following four pages:
- My Supplier Dashboards
- Standard Internal Dashboards
- Standard Supplier Dashboards
- Supplier Shared Dashboards
Users can find more information on the Dashboard pages in the relevant article here.
Step 2: Create the dashboard
Once the user selects the appropriate type of dashboard, the next step is to create the dashboard layout. The dashboard builder provides users with the ability to create an intuitive drag-and-drop multi-column area, in which widgets will later be added (step 3).
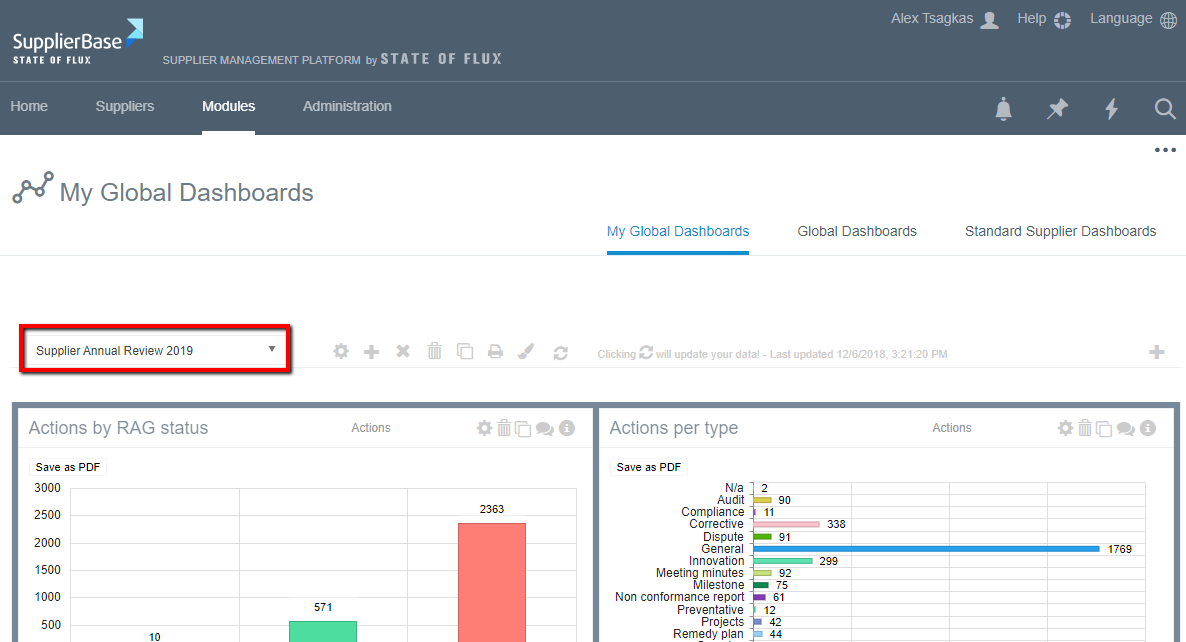
At each dashboard page, users can create and maintain multiple dashboards. Select a dashboard from the drop-down list above the dashboard area.
The dashboard builder provides users the following options to set-up and configure their dashboards.
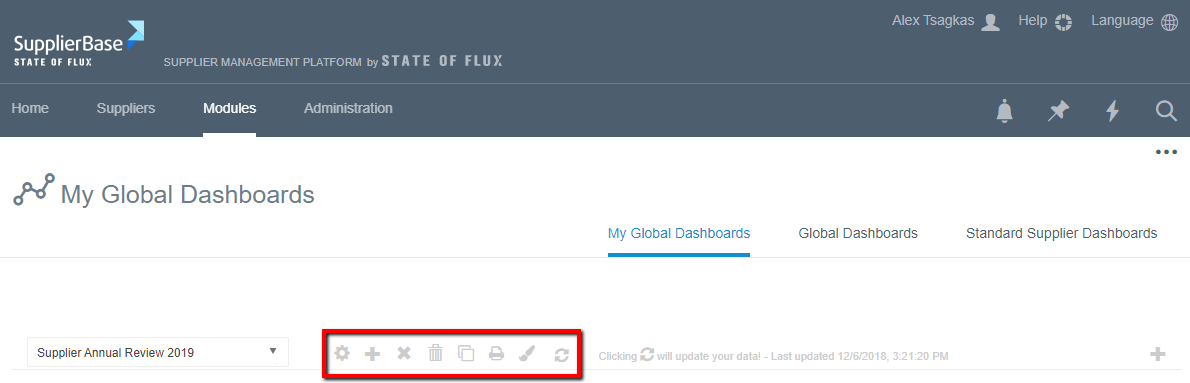
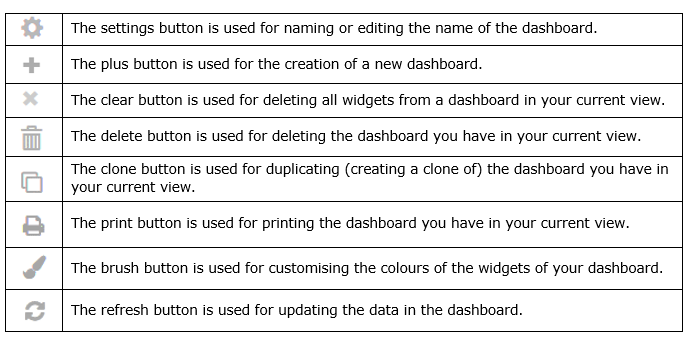
To create a new dashboard, click on the plus (+) button and define the name of the dashboard.
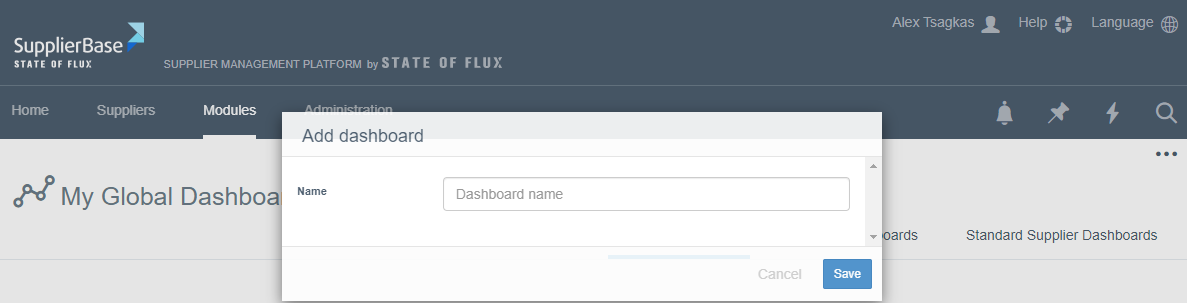
A new empty dashboard is created.
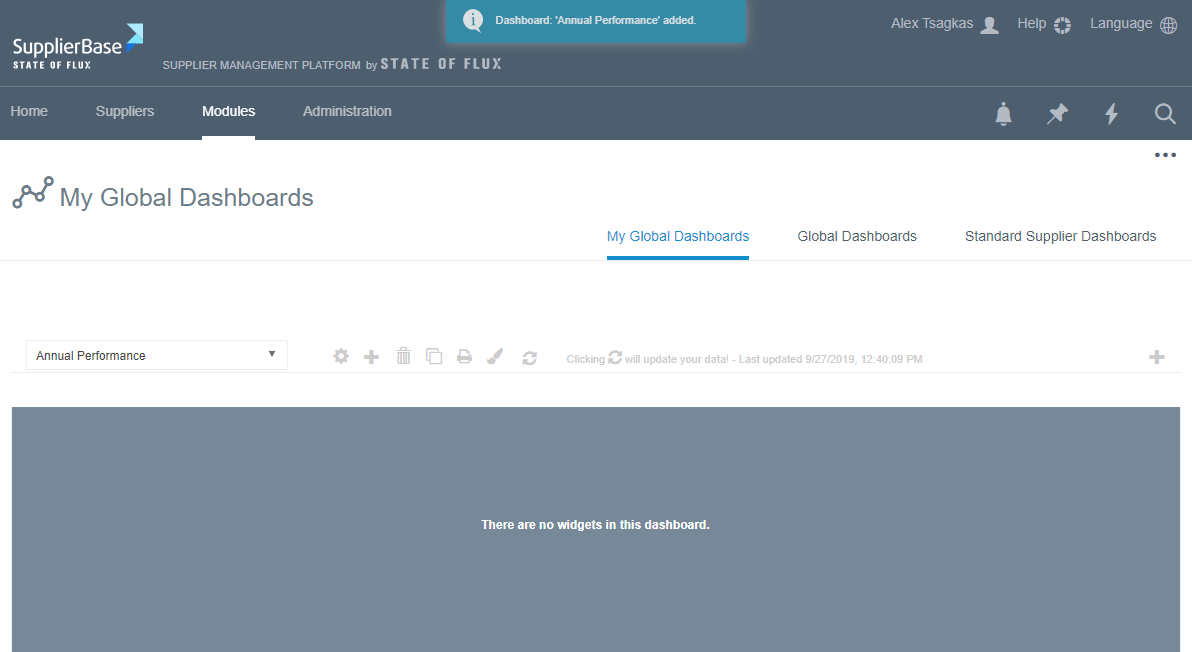
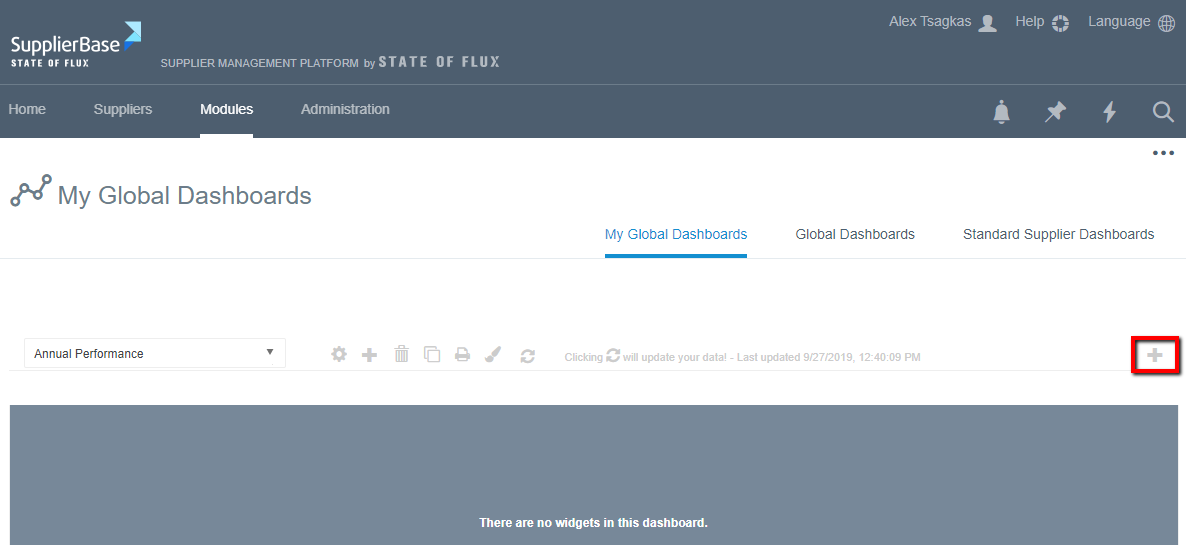
Step 3: Add widgets to the dashboard
To add a new widget to your dashboard, click on the plus (+) button at the top-right corner of the dashboard.
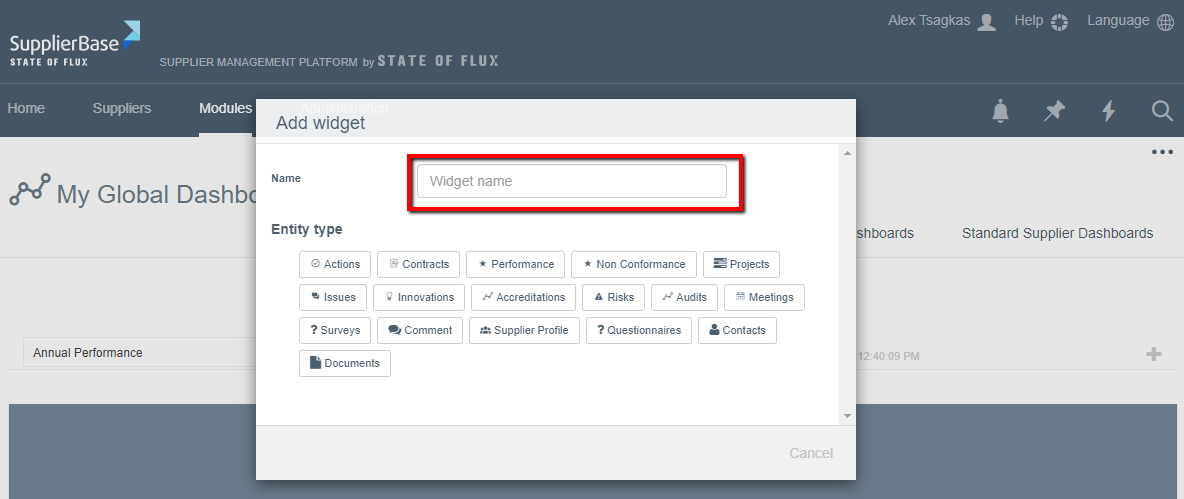
The widget builder is a wizard which provides users with the ability to customise a widget. The widget builder guides users through the following step-by-step process:

[1] Enter a name for the widget
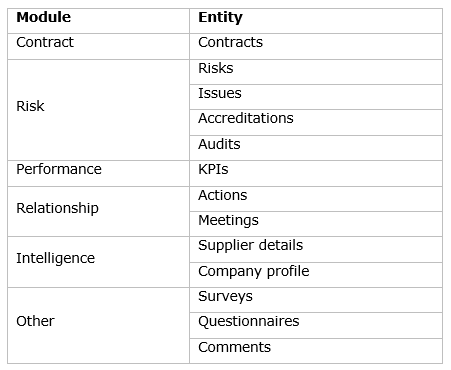
[2] Select an entity

The available entities reflect the various modules / features in the platform. By selecting an entity, users define the type of data they want to report on. Users can report on the following entities:
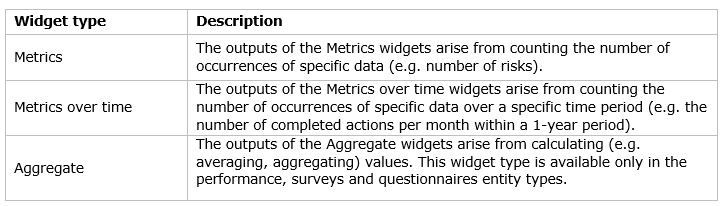
[3] Select a widget type
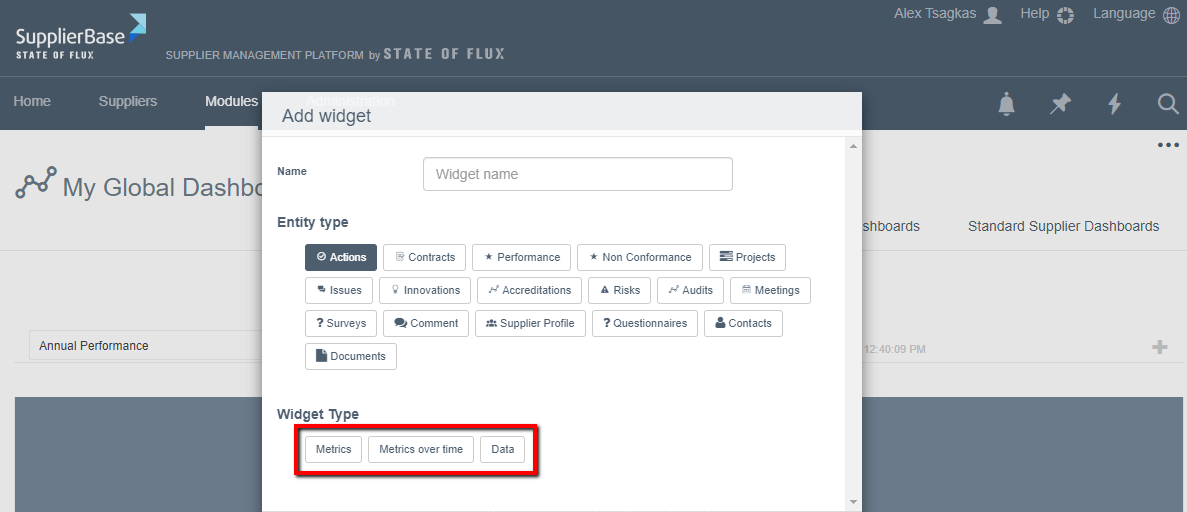
The widget type defines the type of data that a widget will include. Please note that the widget type options vary according to the entity type that has been selected in the previous step. The following widget types are available:
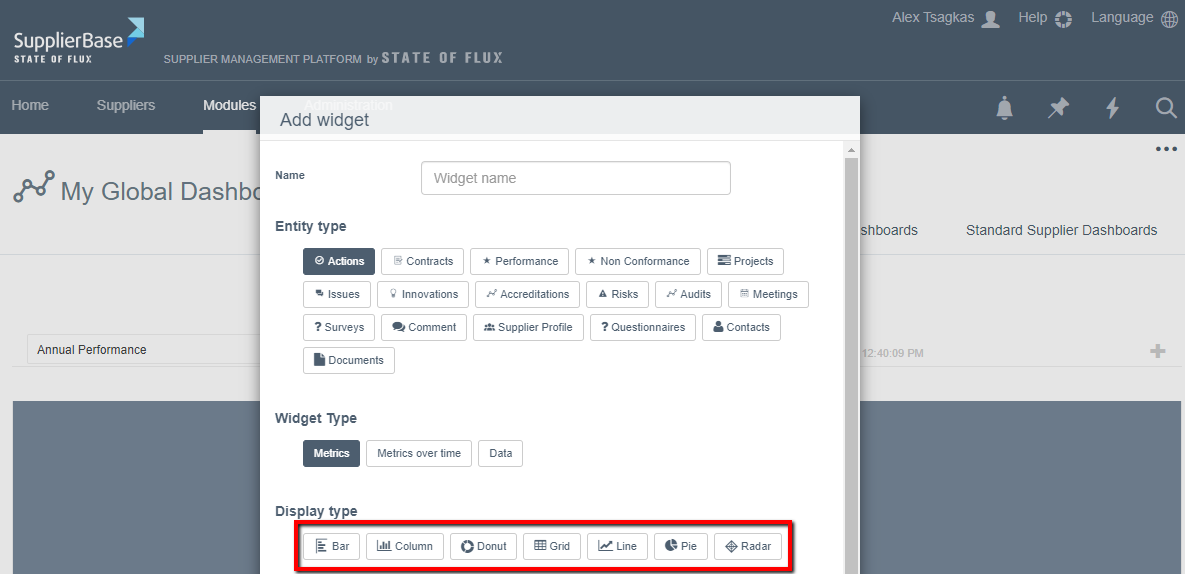
[4] Select a display type
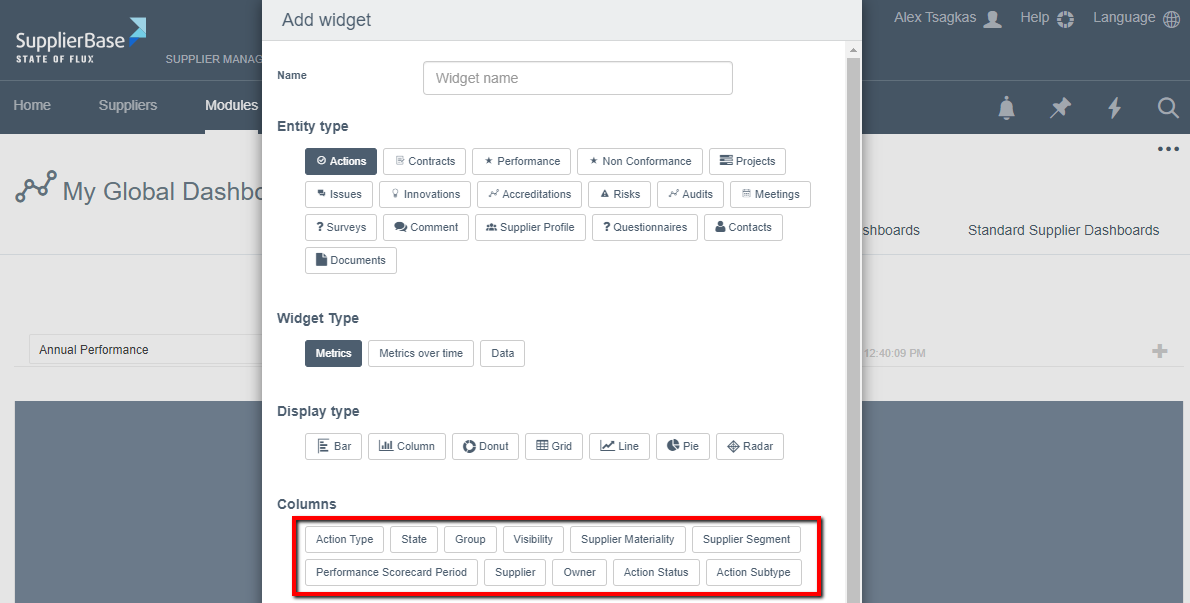
[5] Select column(s)
The columns option depends on the selected entity. These include the fields that the user wants the widget to report on or be grouped by e.g. select ‘Action Type’ to display the number of actions by action type in a widget.
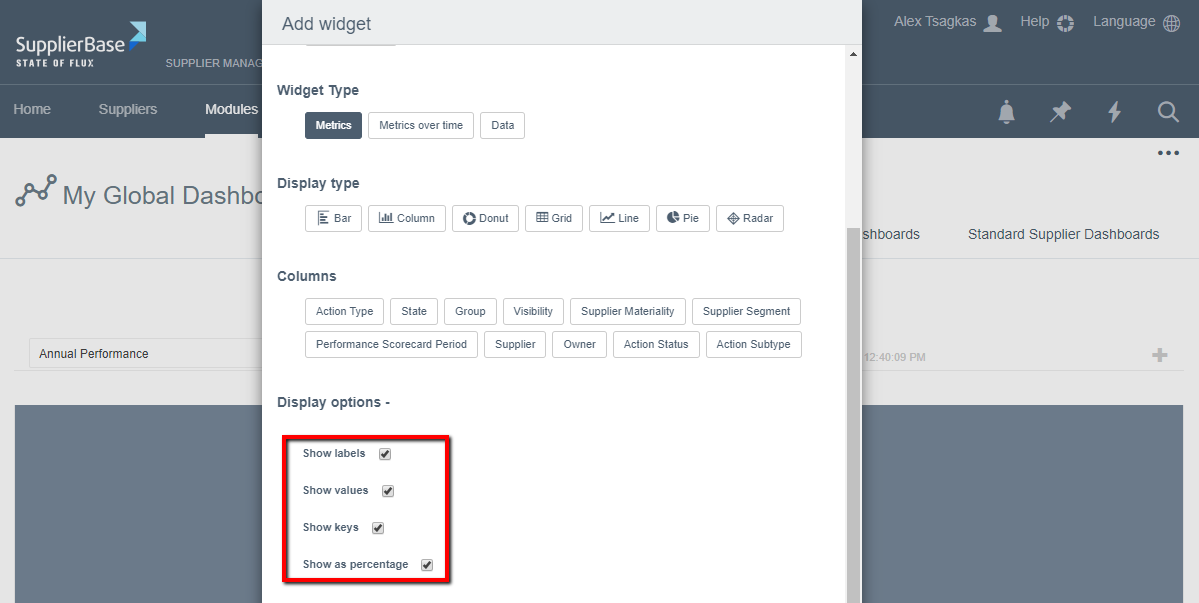
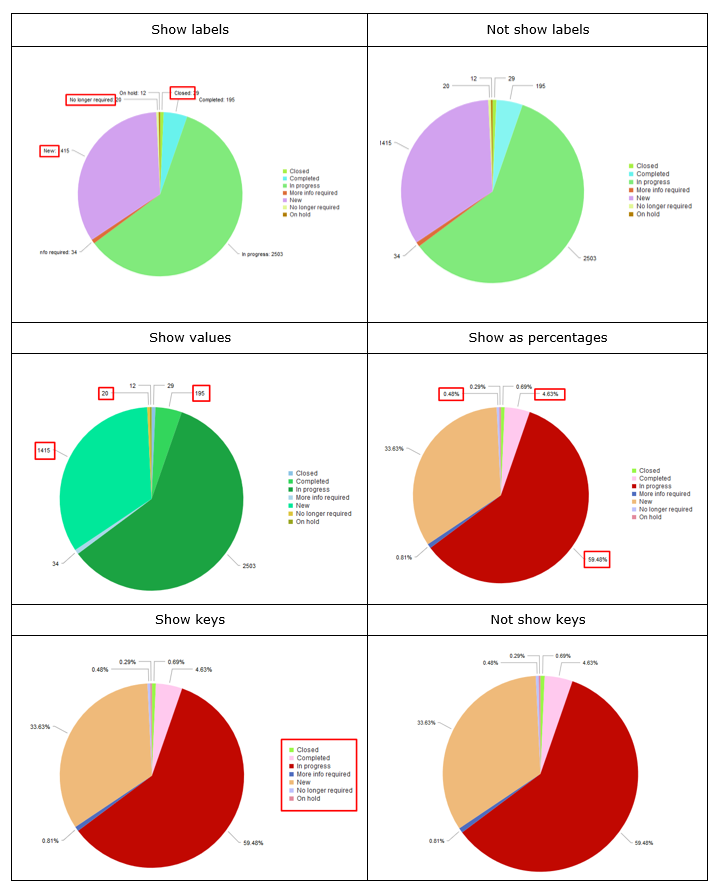
[6] Define display options
In this section the users select if they want to have more information visible on the widget. Please note that the display option may vary according to the selected display type.
[7] Filter the data
The column filters allow users to filter the data (e.g. select specific values for a field / column) that are displayed in a widget. Users can apply multiple filters.

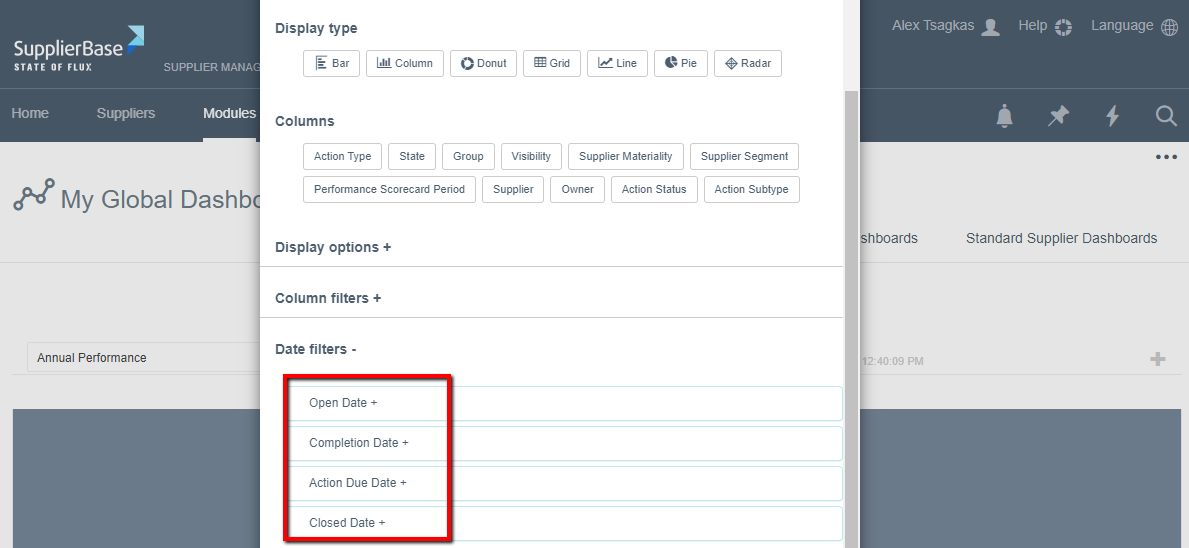
[8] Define the report period
The column filters allow users to specify the date range for which information is included in a widget.
Absolute vs. Relative period
At the date filters, users can define the reporting period for a widget by selecting:
- A start date and end date (absolute period). The widget will include data that falls between the start and end date; or
- The number of (previous or next) periods (relative period). The widget will include data that falls under the selected criteria. The relative period is automatically refreshing the data in a widget over time.
Once the mandatory settings are defined, click Save and the widget is added to your dashboard.
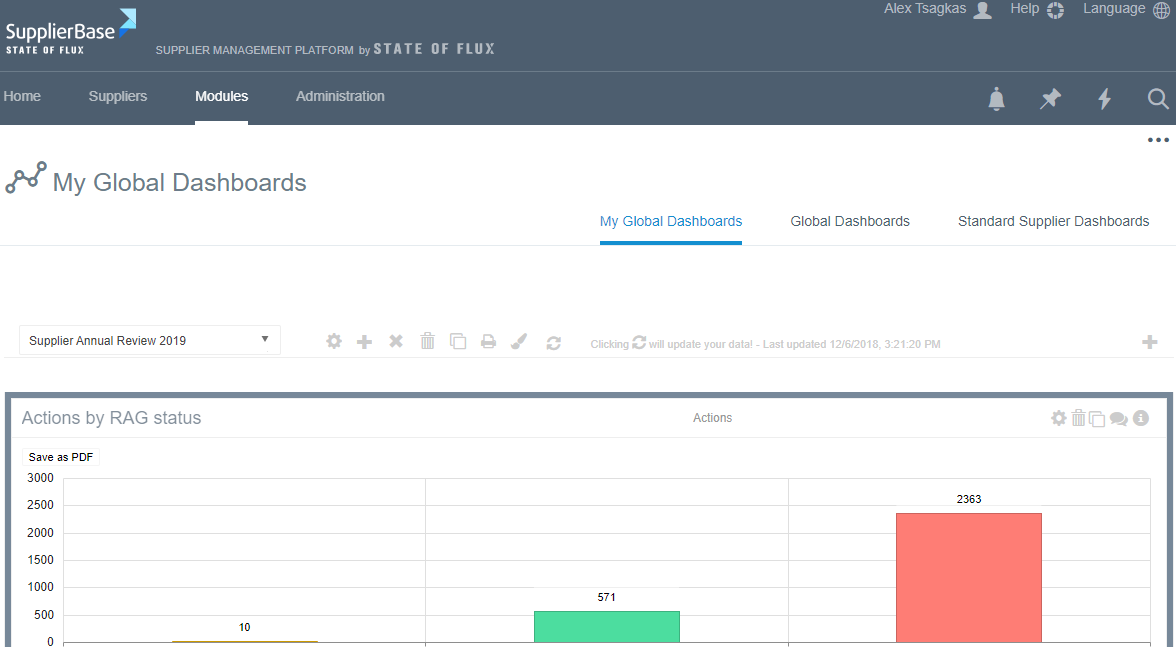
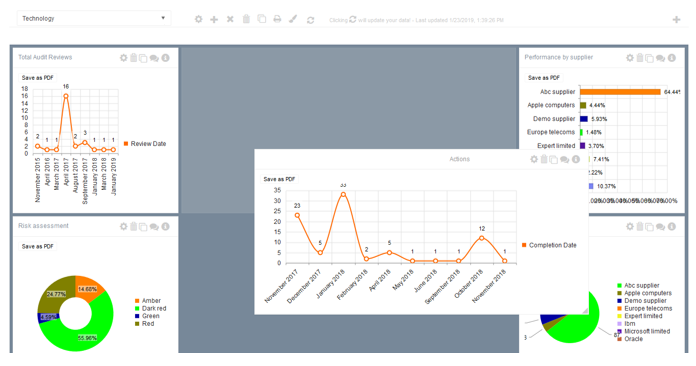
Users can add as many widgets as they want to the dashboard. The size and place of each widget are customisable. By dragging the corners or the sides of each widget you can define the size of the widget; and by dragging and dropping the widgets you can customise their place in the dashboard.
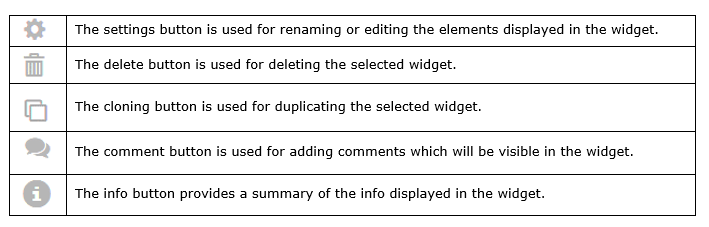
To manage a widget, users are provided with the following options, which are located at the top-right of the widget.
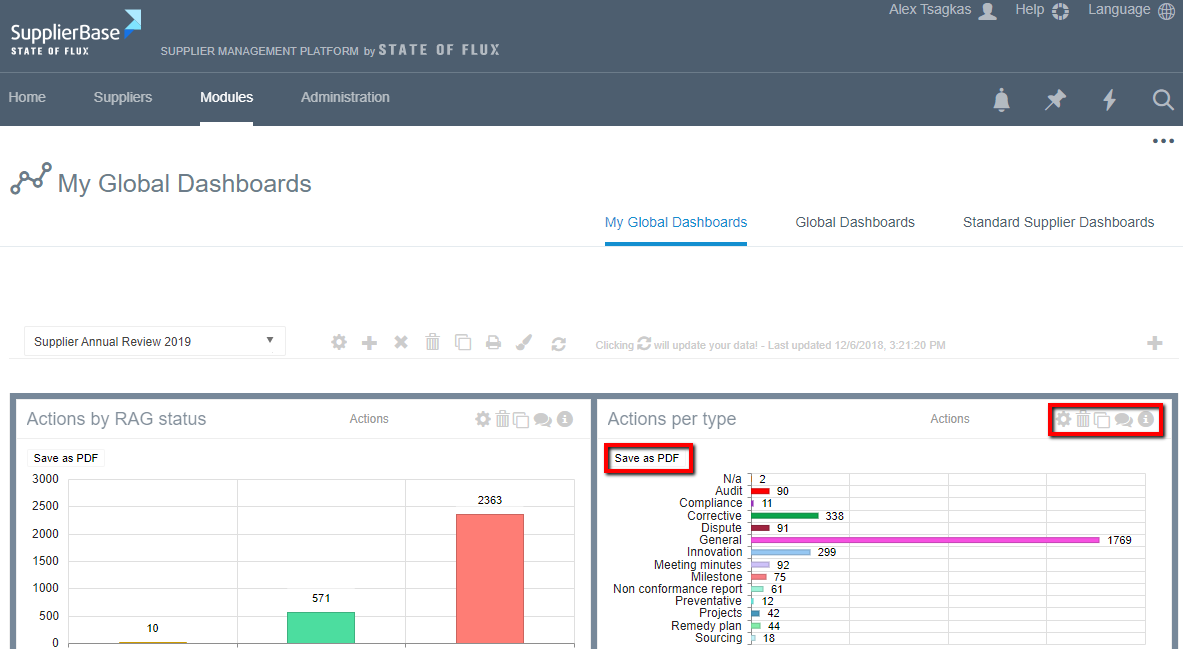
Users are also able to save the widget as PDF by using the Save as PDF button at the top-left corner of the widget.